

In the children’s book Frederick, the little mouse of the same name gets into trouble with the other mice because he doesn’t work to store up food for the winter. Even though Frederick assures the other mice that his work gathering sun rays, colors, and words will come in handy too, they aren’t convinced. When winter is at its worst, and the mice are running low on food, Frederick’s gift is revealed as he uplifts his fellow mice by telling the stories that he has collected as his way of helping them survive the bleakness of winter.
Like the mice, I have a hard time with winter, and growing daffodils in containers is one of the ways that I help myself make it through that last stretch. Little did I know when I started my first batch in the fall of 2019 just how much I would need their joyful boost. The picture of the Tête-à-Tête daffodils in the bluebird crock was taken on March 19, 2020 as the world went into lockdown due to the pandemic. Those little blooms were a godsend.
I had missed the local gardening class on how to grow bulbs in containers, but the method that I tried ended up working really well. I fact, the bulbs were so healthy at the end of the season that I planted them in my landscape beds. This spring, two years later, I have nine beautiful bunches coming up in my front yard. Here’s a close-up picture of one of them. I’ve had similar success with tulips and hyacinths as well.

To grow daffodils in containers in my zone 6b garden, here’s what worked for me. Since the crock that I was going to use to display the flowers didn’t have a drainage hole, I re-used a black plastic nursery pot (9” high x 8” diameter) that I had saved. This solution worked really well not only for storage, but also for easy portability before and after blooming.
At the beginning of December, I planted 17 Tête-à-Tête miniature daffodils six inches deep in the nursery pot using the ubiquitously available Miracle Grow potting mix in the yellow bag that advertises having enough fertilizer for up to six months. I watered the pot thoroughly and stored it in my garage to protect it from freezing while still meeting the bulbs chilling requirement. Over the next couple of months, I checked periodically to see if they needed watering. In February when I started seeing the green tips of shoots growing, I started putting the pot out in the sun to grow during the warmer days and moving them into the garage at night. As you can see in the photo, by mid-March, I had lovely mini daffodils fully in bloom.
Once the show was over, and it was time to plant annuals in my planter, I moved the nursery pot to the back garden and kept it watered until all of the foliage had completely died back in the summer. Once the leaves were completely yellowed, I harvested the bulbs, which were very healthy and had lots of bulblets, and stored them in a cool, dry area until I re-planted them in my landscape in the fall.
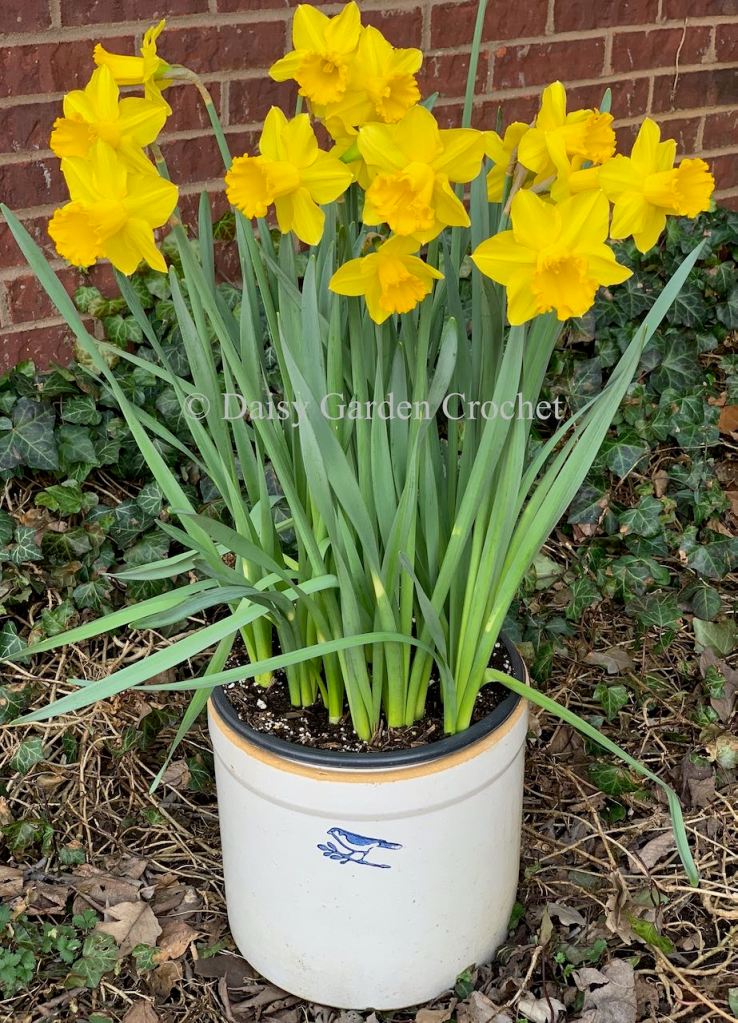
The best show so far was from the Tête-à-Tête mini daffodils. They must produce multiple blooms per stem because 17 bulbs yielded more than double that amount in blooms. This year I planted 25 Dutch Master daffodils and have 17 blooms as you can see in the photo.
If you are like me and need some sun rays stored up for the winter, growing daffodils, with their friendly yellow faces, gets the job done.
